Get Started
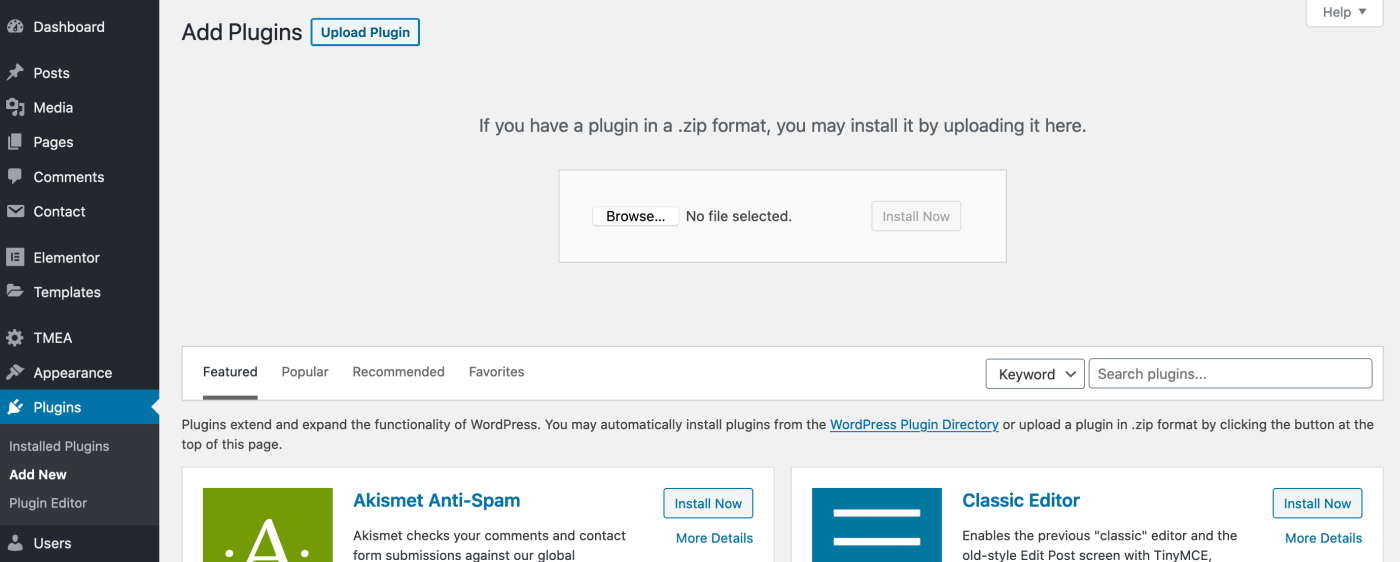
The first thing you need to do when you want to install a new WordPress plugin is to login to your site admin page. Once there, go to Plugins -> Add New. Click "Upload Plugin" button and upload the zip file from your local hard drive.
Settings
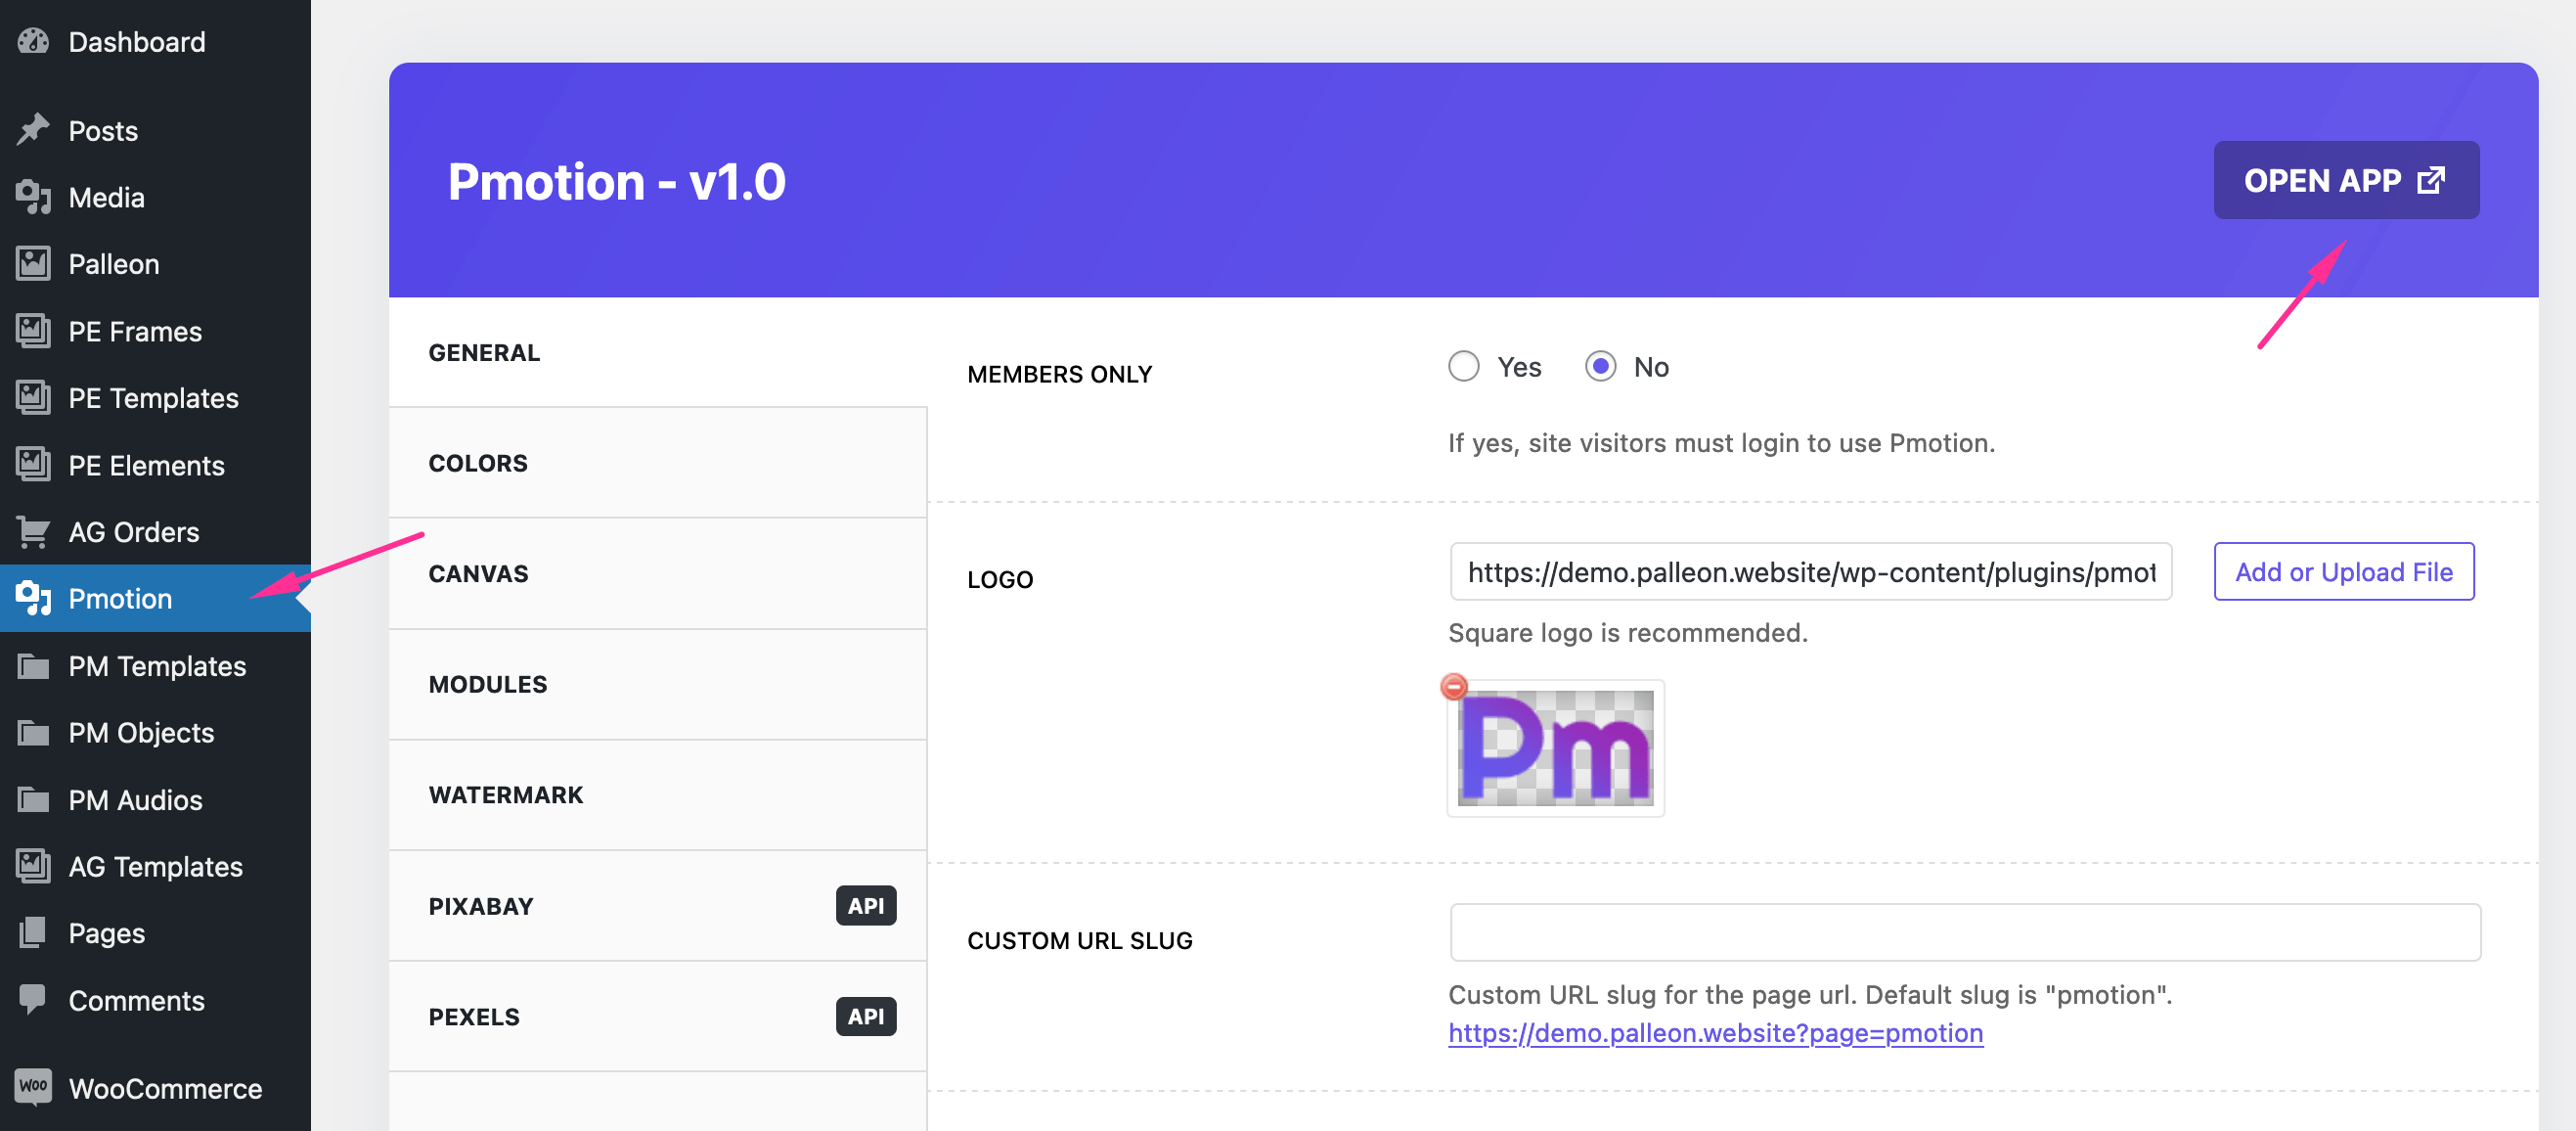
After plugin activation, you can access plugin settings from your WordPress control panel. You can click the "open app" button to access the GIF and video maker.
Pexels Integration
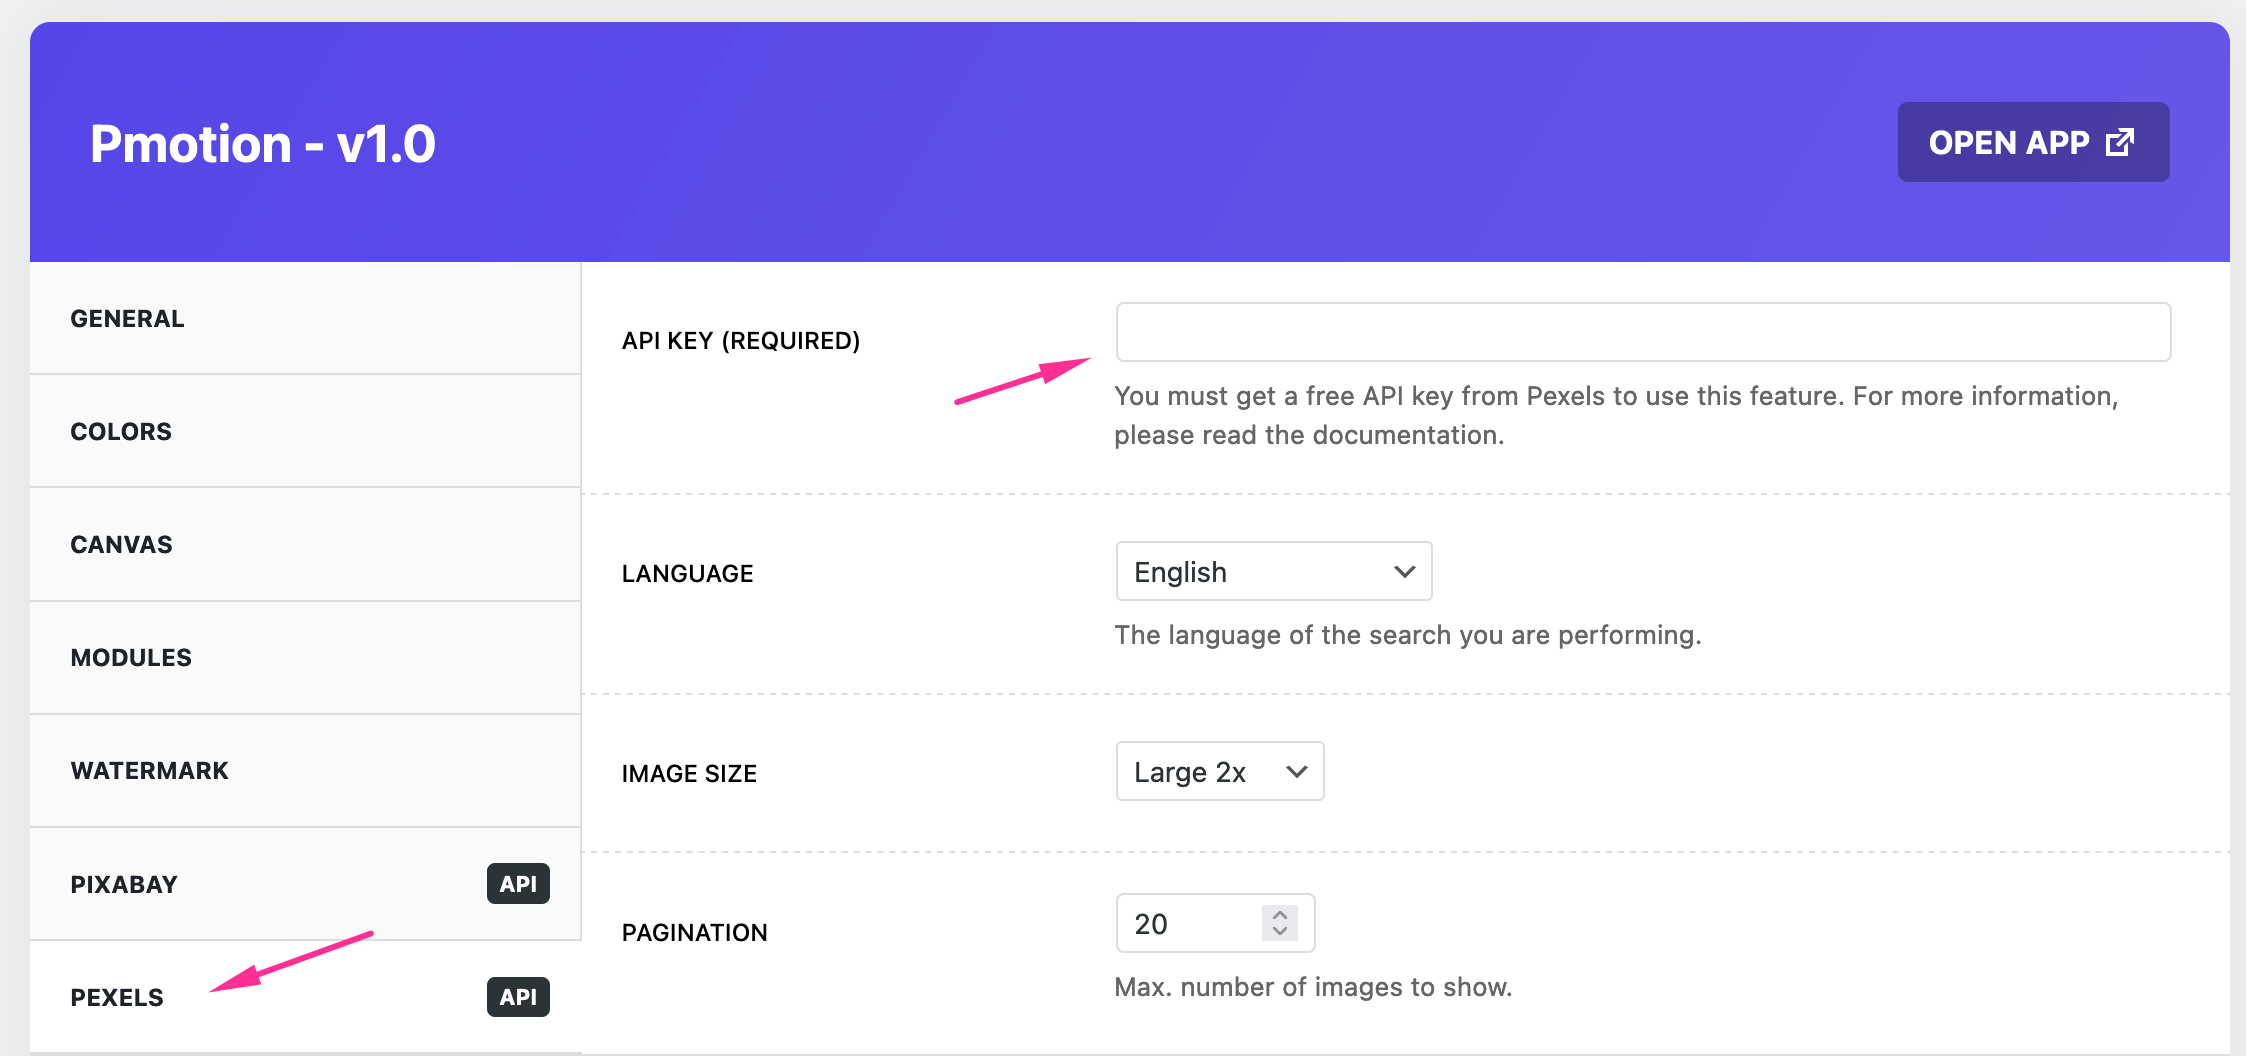
With Pexels integration, you can browse millions of high-quality royalty free stock images and videos without leaving Pmotion. To activate it, you must get an API key from your Pexels account. Creating account and getting API key is free. Click here to get your API key.
After getting the API key, copy&paste it to Pmotion->Pexels. If your API key is valid, you will see a new tab on media library where you can browse the images.
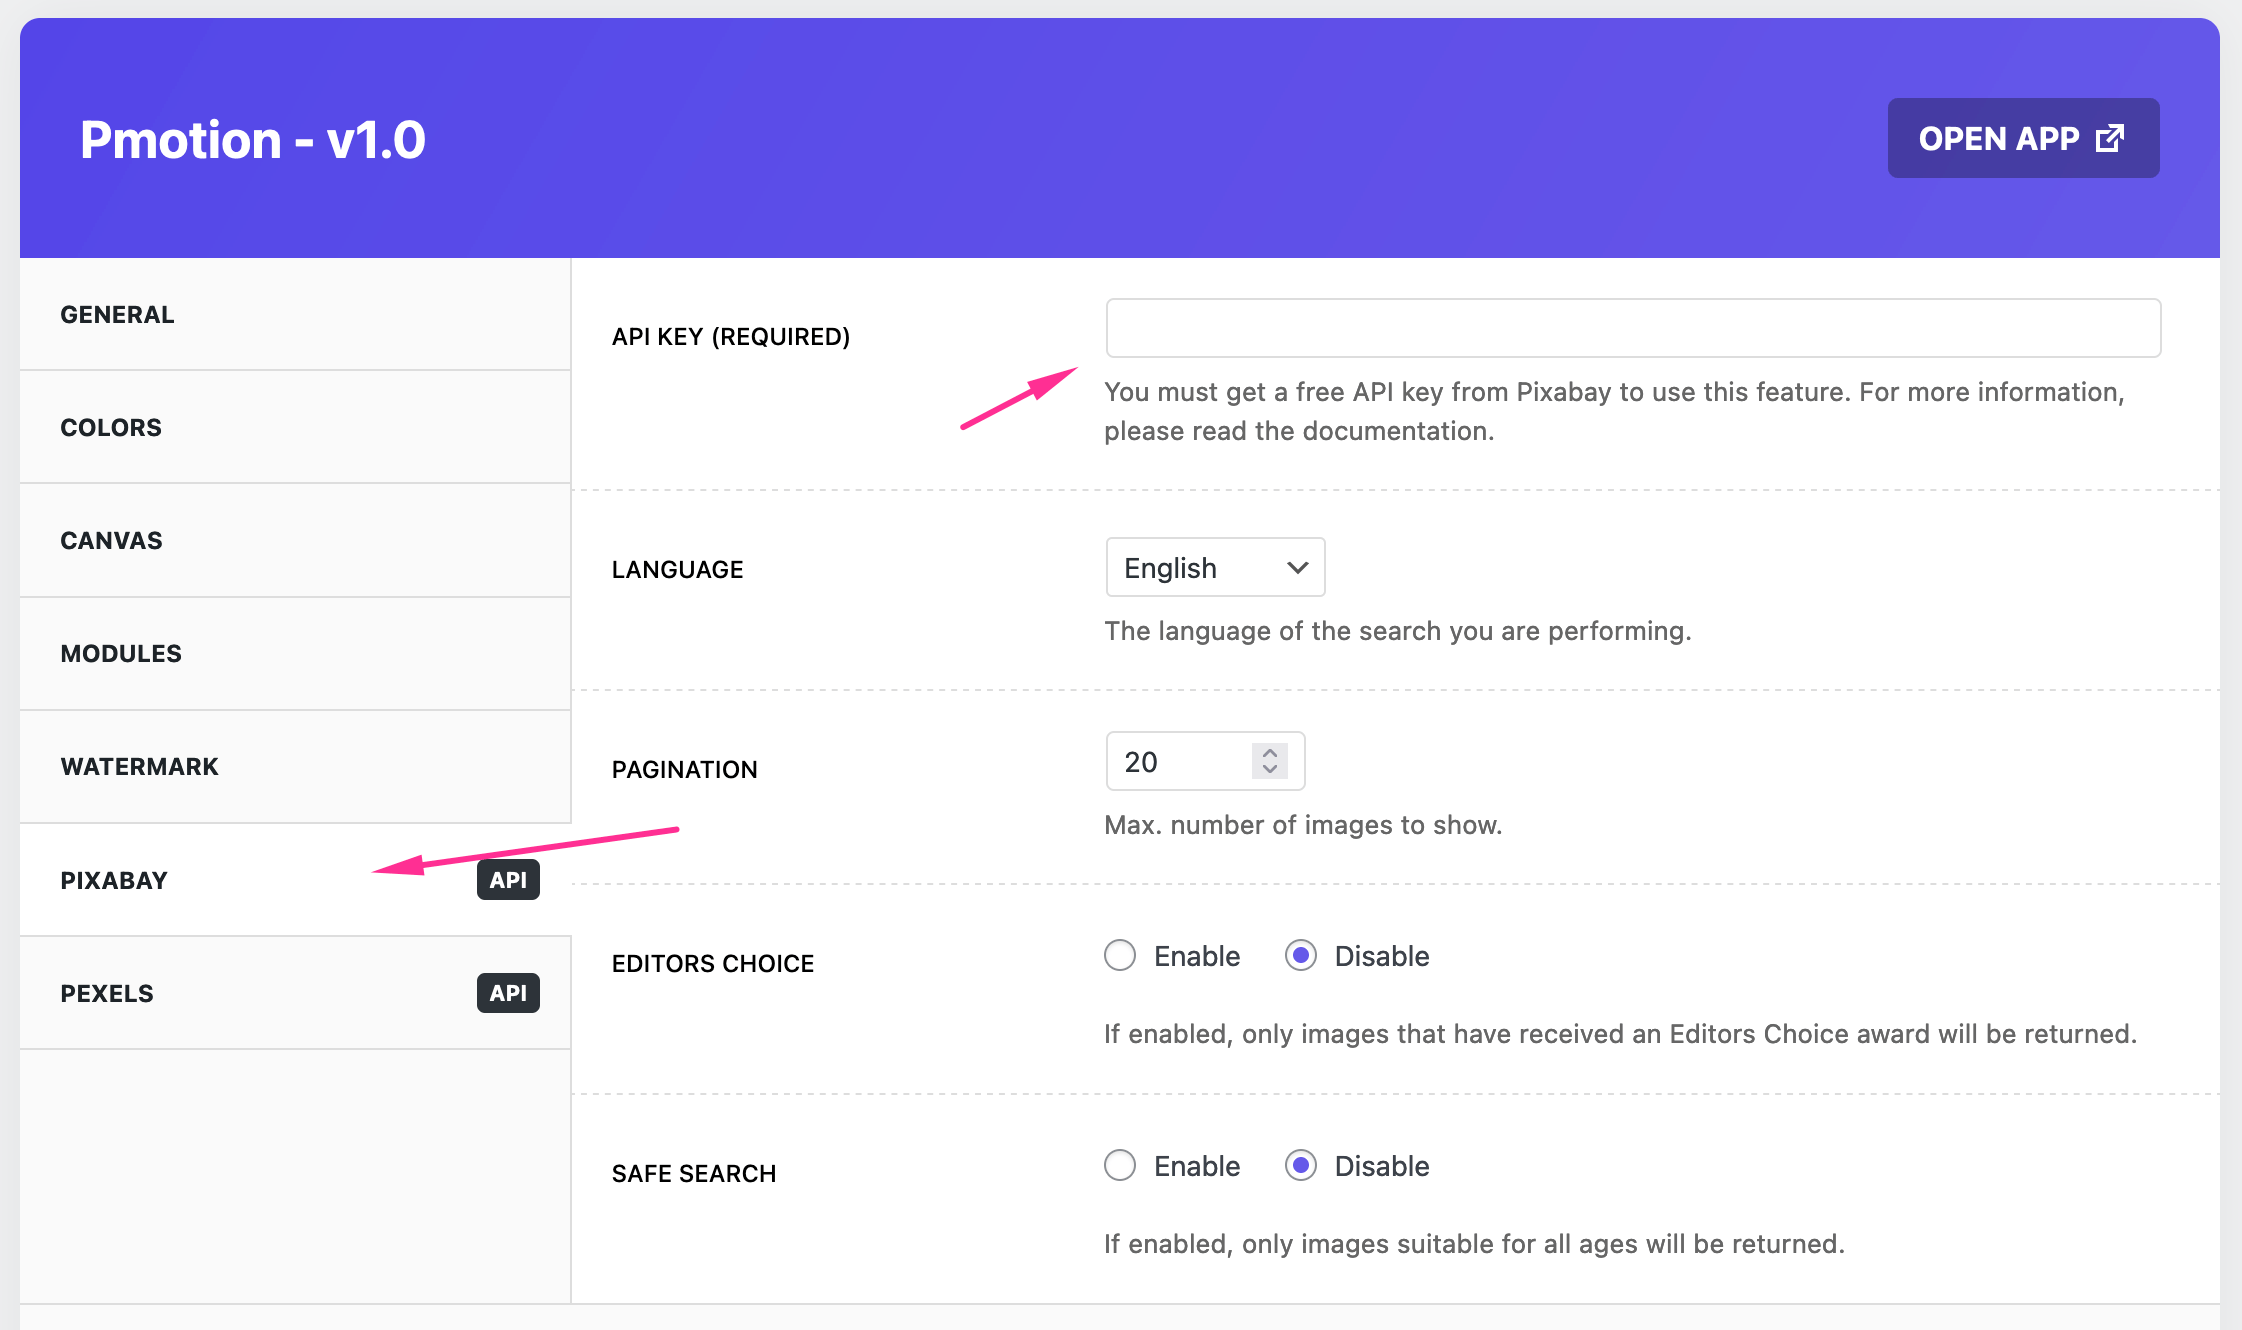
Pixabay Integration
With Pixabay integration, you can browse millions of high-quality royalty free stock images and videos without leaving Pmotion. To activate it, you must get an API key from your Pixabay account. Creating account and getting API key is free. After signing-in you can find your API key on this page.

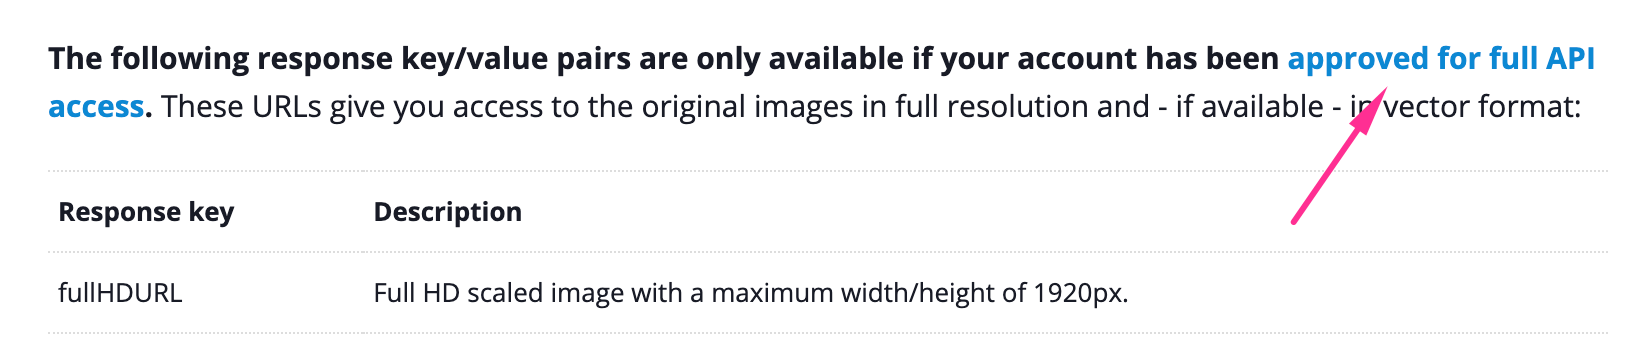
As default image size is a maximum width/height of 1280px. To get the full HD image (maximum width/height of 1920px) url instead, your account should be approved for full API access. You can request full API access from the API page.
After getting the API key, copy&paste it to Pmotion->Pixabay. If your API key is valid, you will see a new tab on media library where you can browse the images.
Basics
You can see all the properties in the settings panel on the left. By default with nothing selected you can access the canvas settings to set the dimensions, background color, and duration. When you select a layer, you will see layer specific settings in this panel.
In the middle of the screen there’s the canvas area, where you can preview your video and interact with the layers directly. To navigate around it, you can use the pan tool by clicking on the hand icon on the bottom right. You can zoom in and out with the mouse wheel or pinching on the touchpad, or by using the zoom in-out buttons.
To make selections, just drag a box around your objects, or click on them directly. You can use the handles to resize or rotate your selections. If you’d like to go back, you can use the undo/redo buttons on the top left.
After you’ve added an asset into the project, you can start animating it. By default all layers are static, so you can move them around and transform them without creating any keyframes. Once you’re ready, you can just click on the clock icon on the respective layer.
The initial keyframes will all be set, and then you can move the layer around at different time points to automatically generate keyframes. Working with keyframes is easy. Just drag the seekbar (or click somewhere in the timeline to jump) to a point in time, transform your selection in the canvas (e.g. by scaling, moving, rotating…), and the keyframes will be automatically generated. You can reposition the keyframes, delete them, or set the easing by clicking on them.
The timeline area is on the bottom of your screen. You can resize it by grabbing the edge up and down, if you need more space to work with. You can also drag the layers up and down to change their ordering in the canvas.
Below the timeline there’s the playback controls. On the left side you can use the zoom level to zoom in or out of the timeline, and the speed dropdown to change the playback speed. You can use the controls in the center to play, pause, and skip.
Templates
How To Add Your Own Templates To The Library?
To add your own templates to "Template Library" area;
1) Make your design with Pmotion.
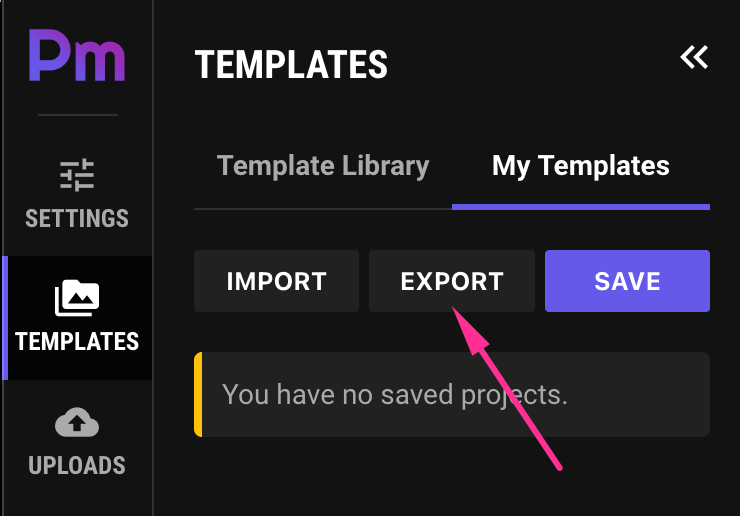
2) Go to Templates -> My Templates.
3) Click "Export" button to download JSON file.
4) Go to your WordPress dashboard.
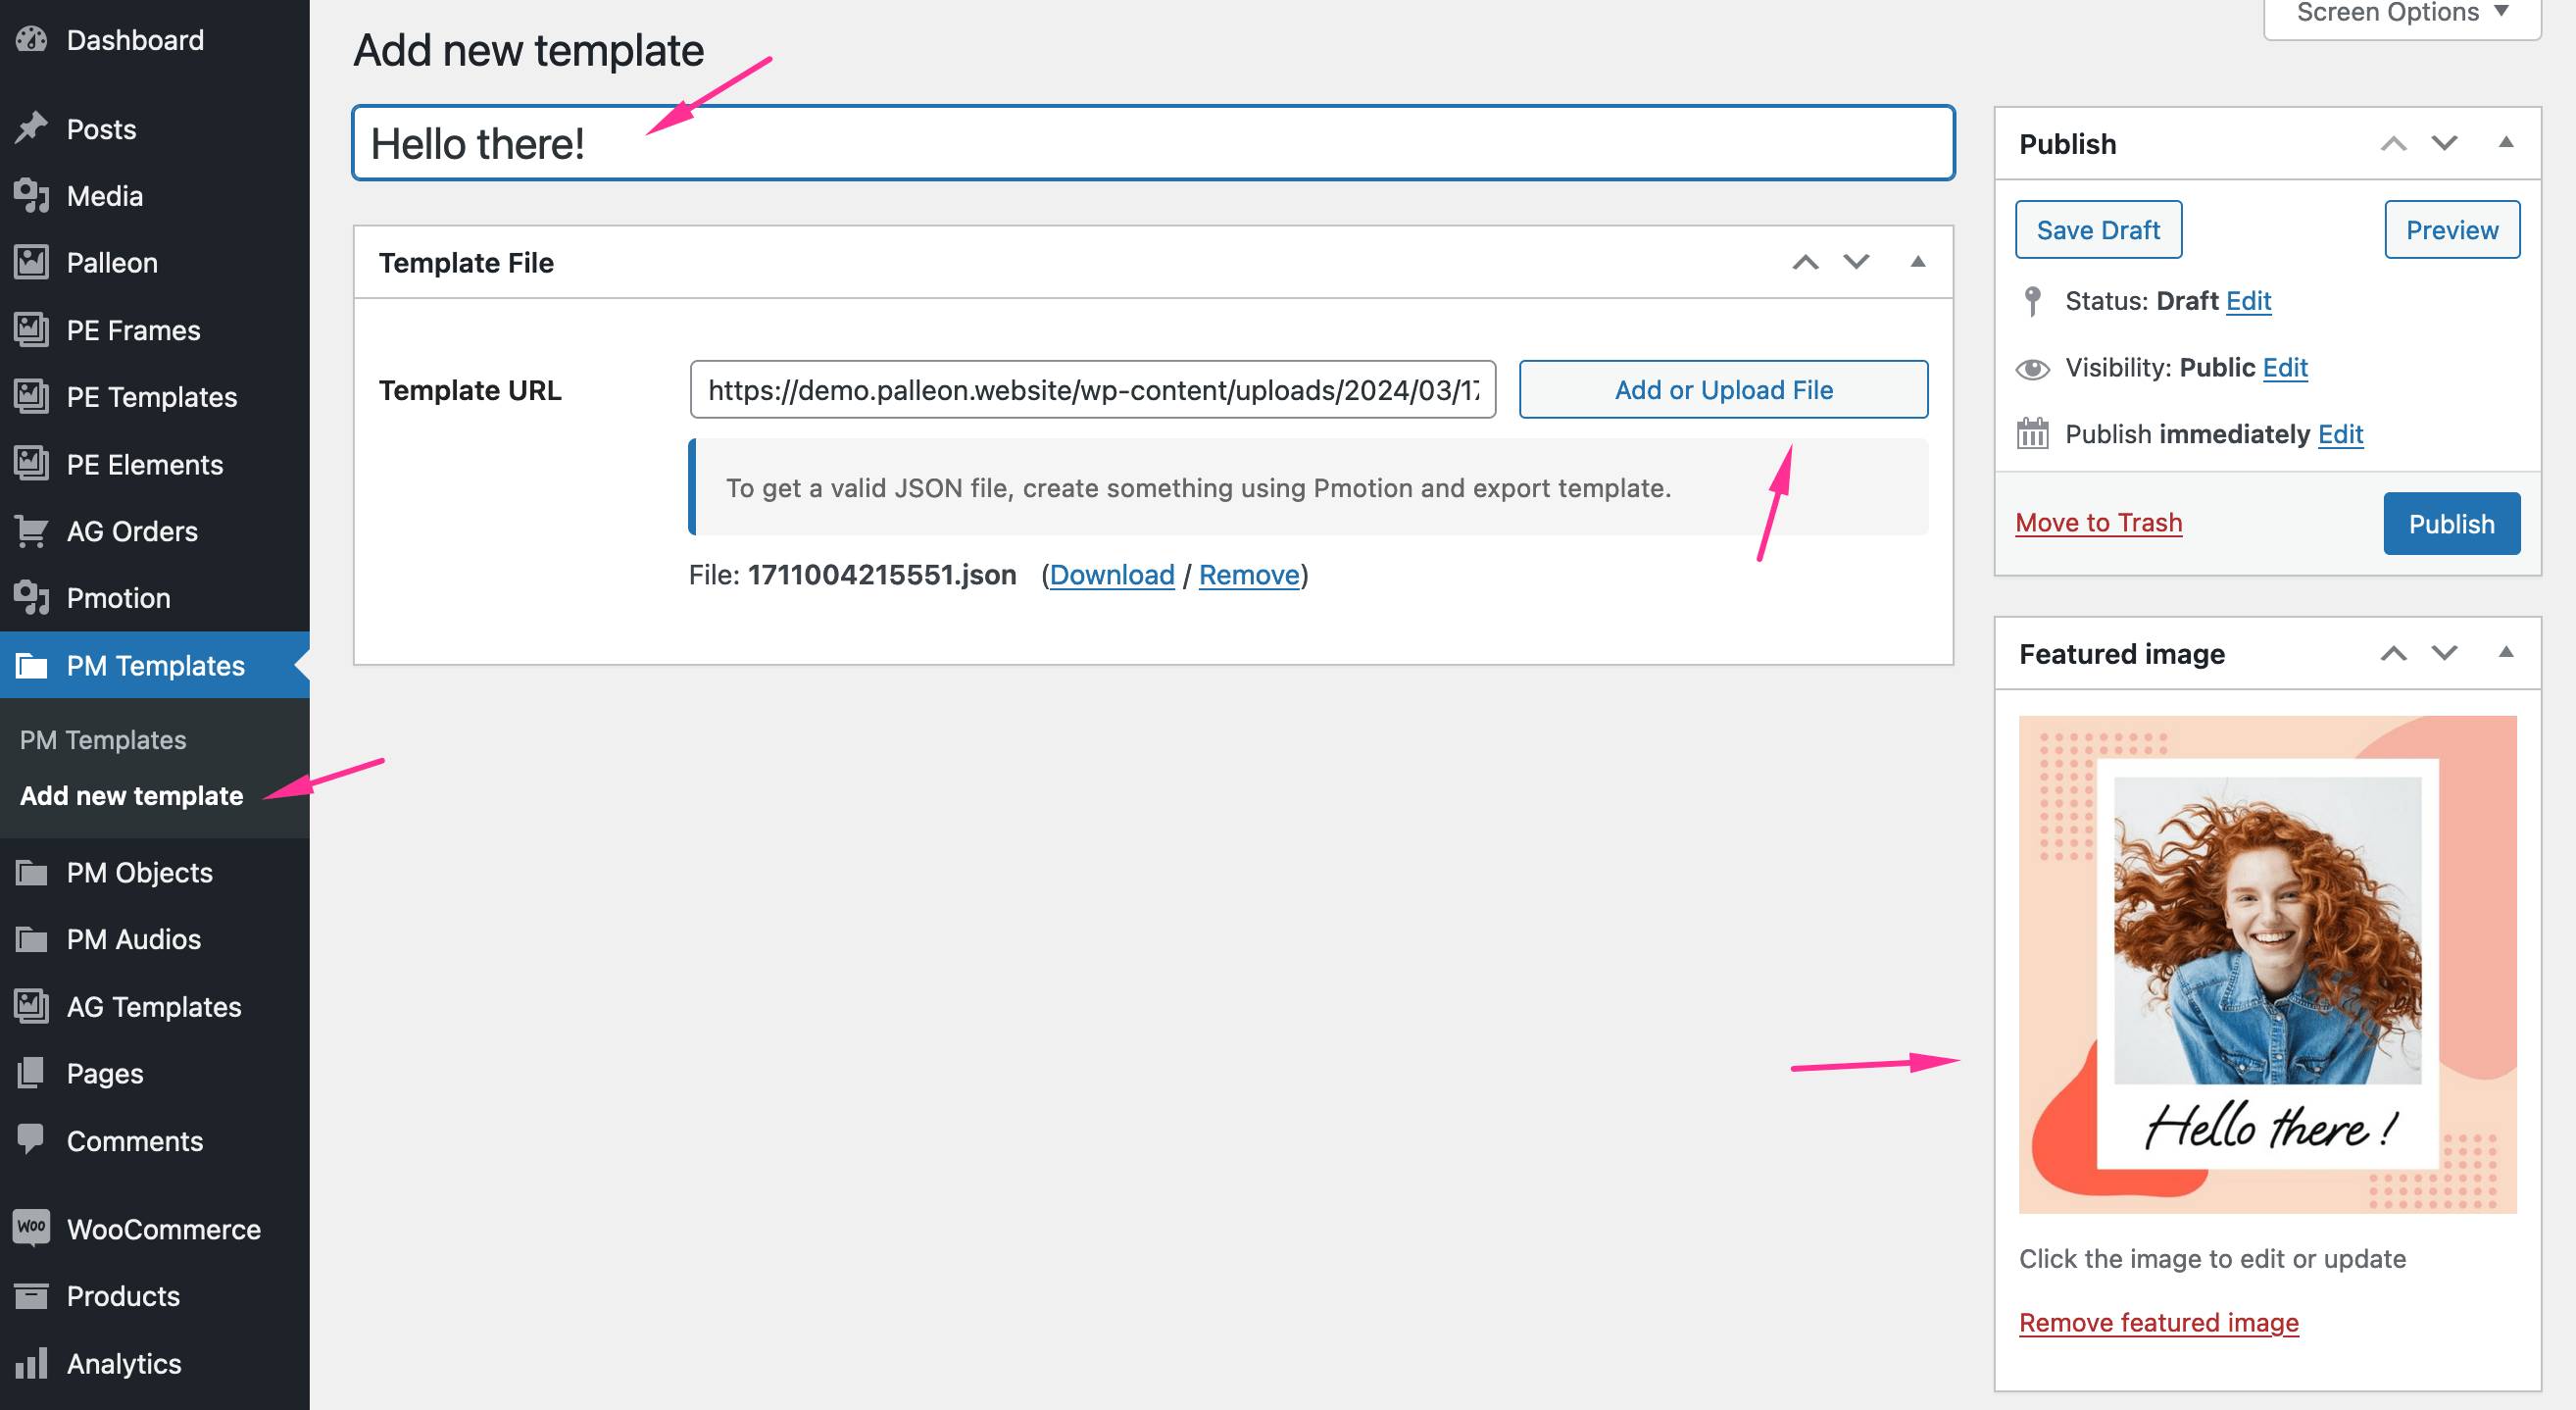
5) Click Pmotion->PM Templates->Add new template
6) Upload the JSON file to "Template URL" field.
7) Add a title and a featured image.
8) Click "Publish".
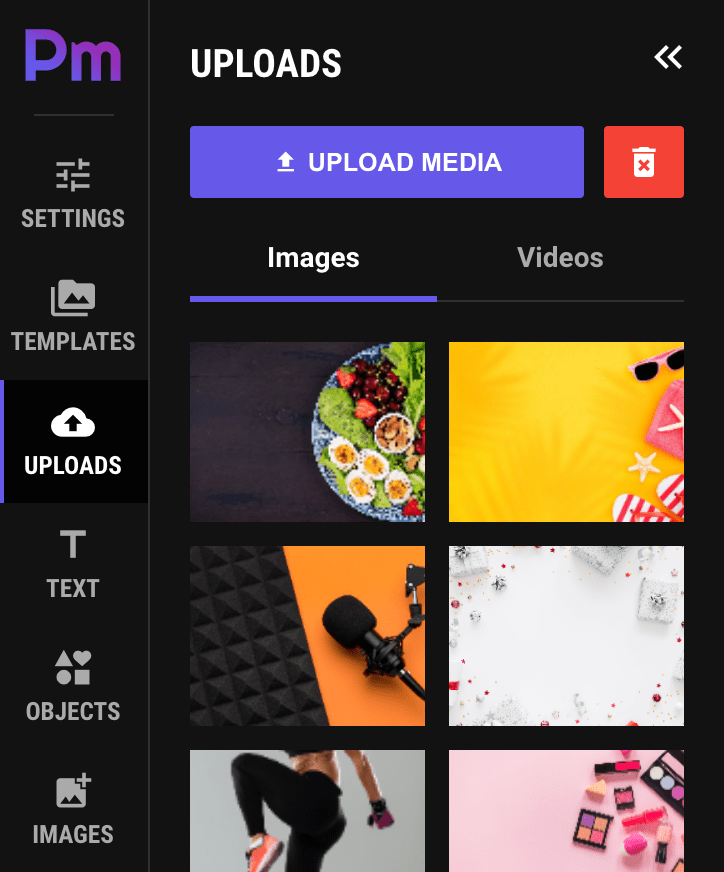
Uploads
Users can upload their own images (png,jpeg,webp,svg) and videos (mp4) to Pmotion from "UPLOADS" tab. These files are stored in the users' browser. Not on your server.
The stored files at "Templates->My Templates" and "Audio->Upload Audio" are stored in the user's browser as well.
To add an asset, you can either click on it (to add it in the center of the screen), or drag it in the canvas directly.
Text
Objects
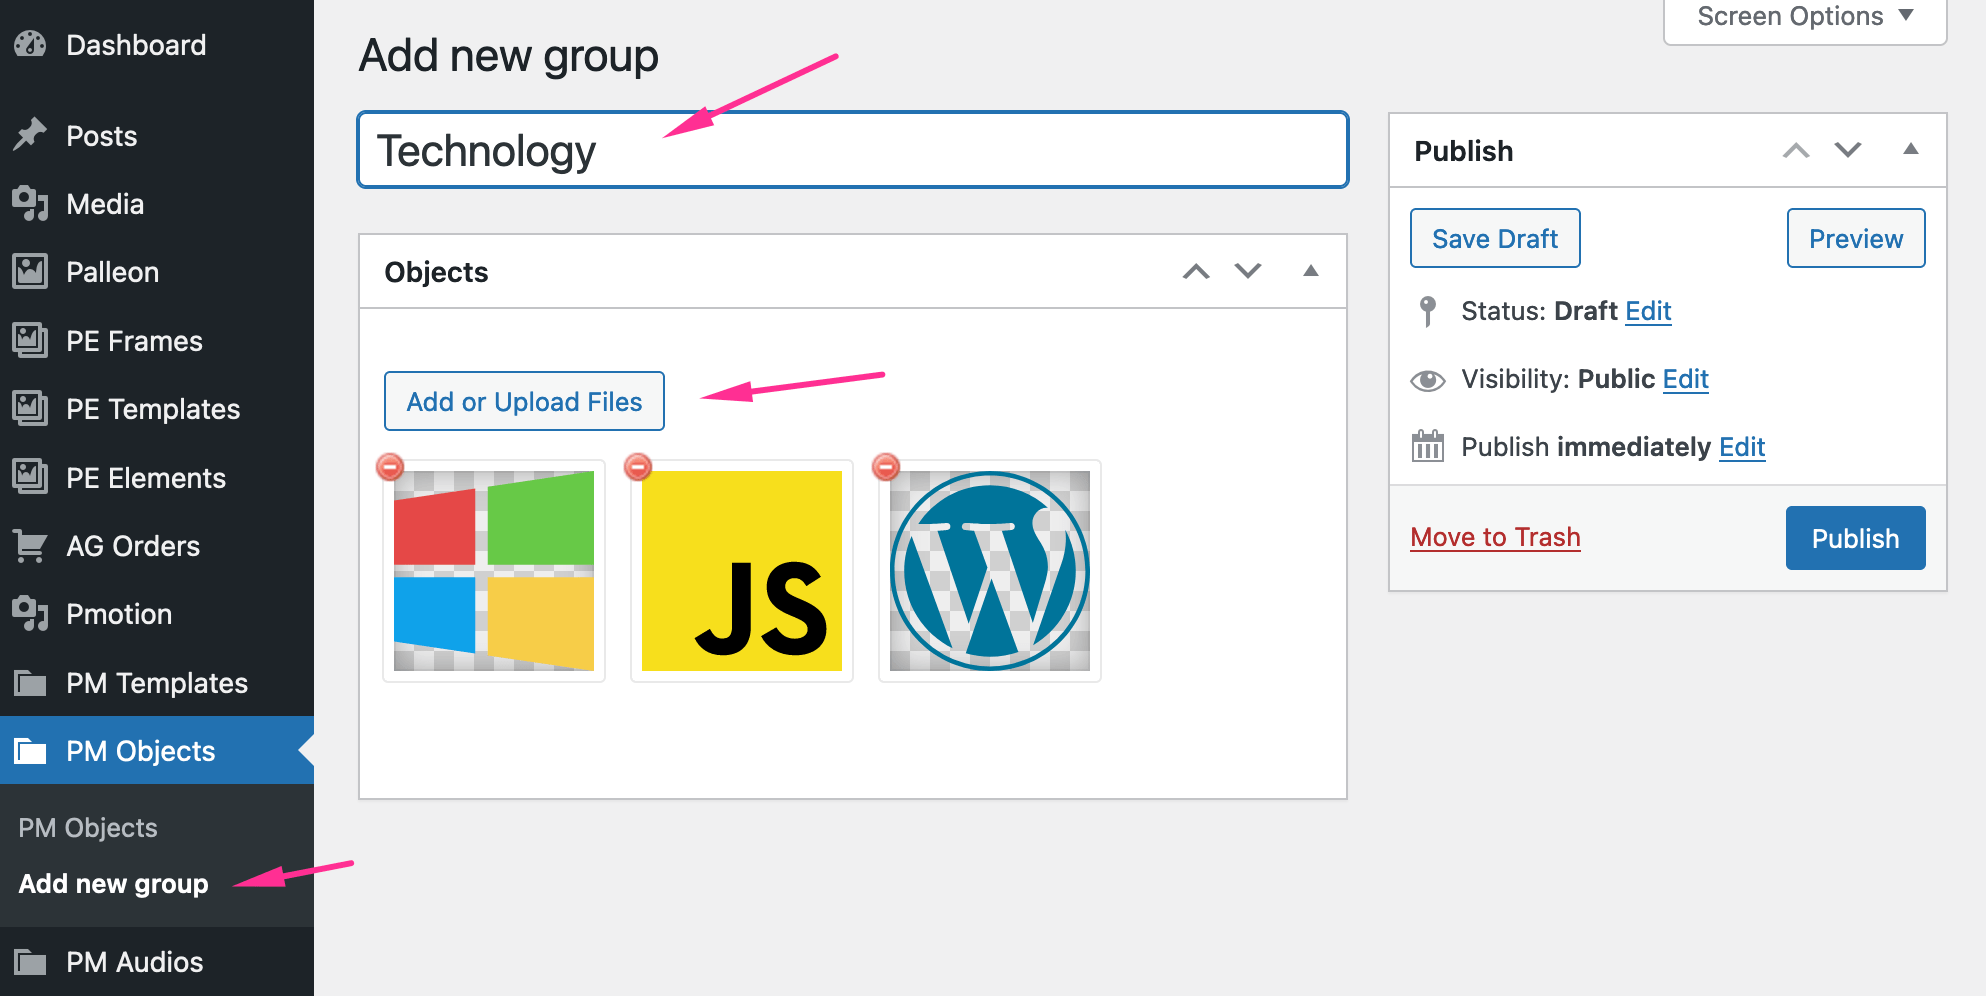
How To Add Your Own Objects To The Library?
1) Go to your WordPress dashboard.
2) Click Pmotion->PM Objects->Add new group.
3) Upload your svg files to "Objects" field.
4) Add a title to your group and click "publish".
Images
Videos
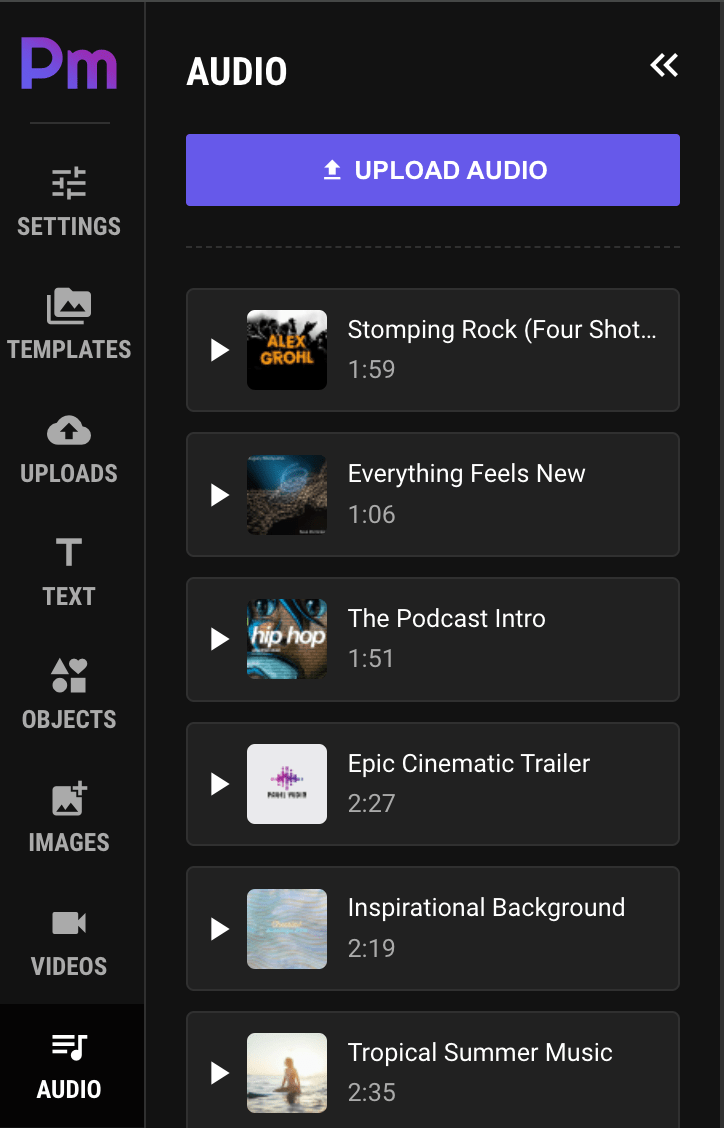
Audio
Users can upload their own audio files by clicking "UPLOAD AUDIO" button.
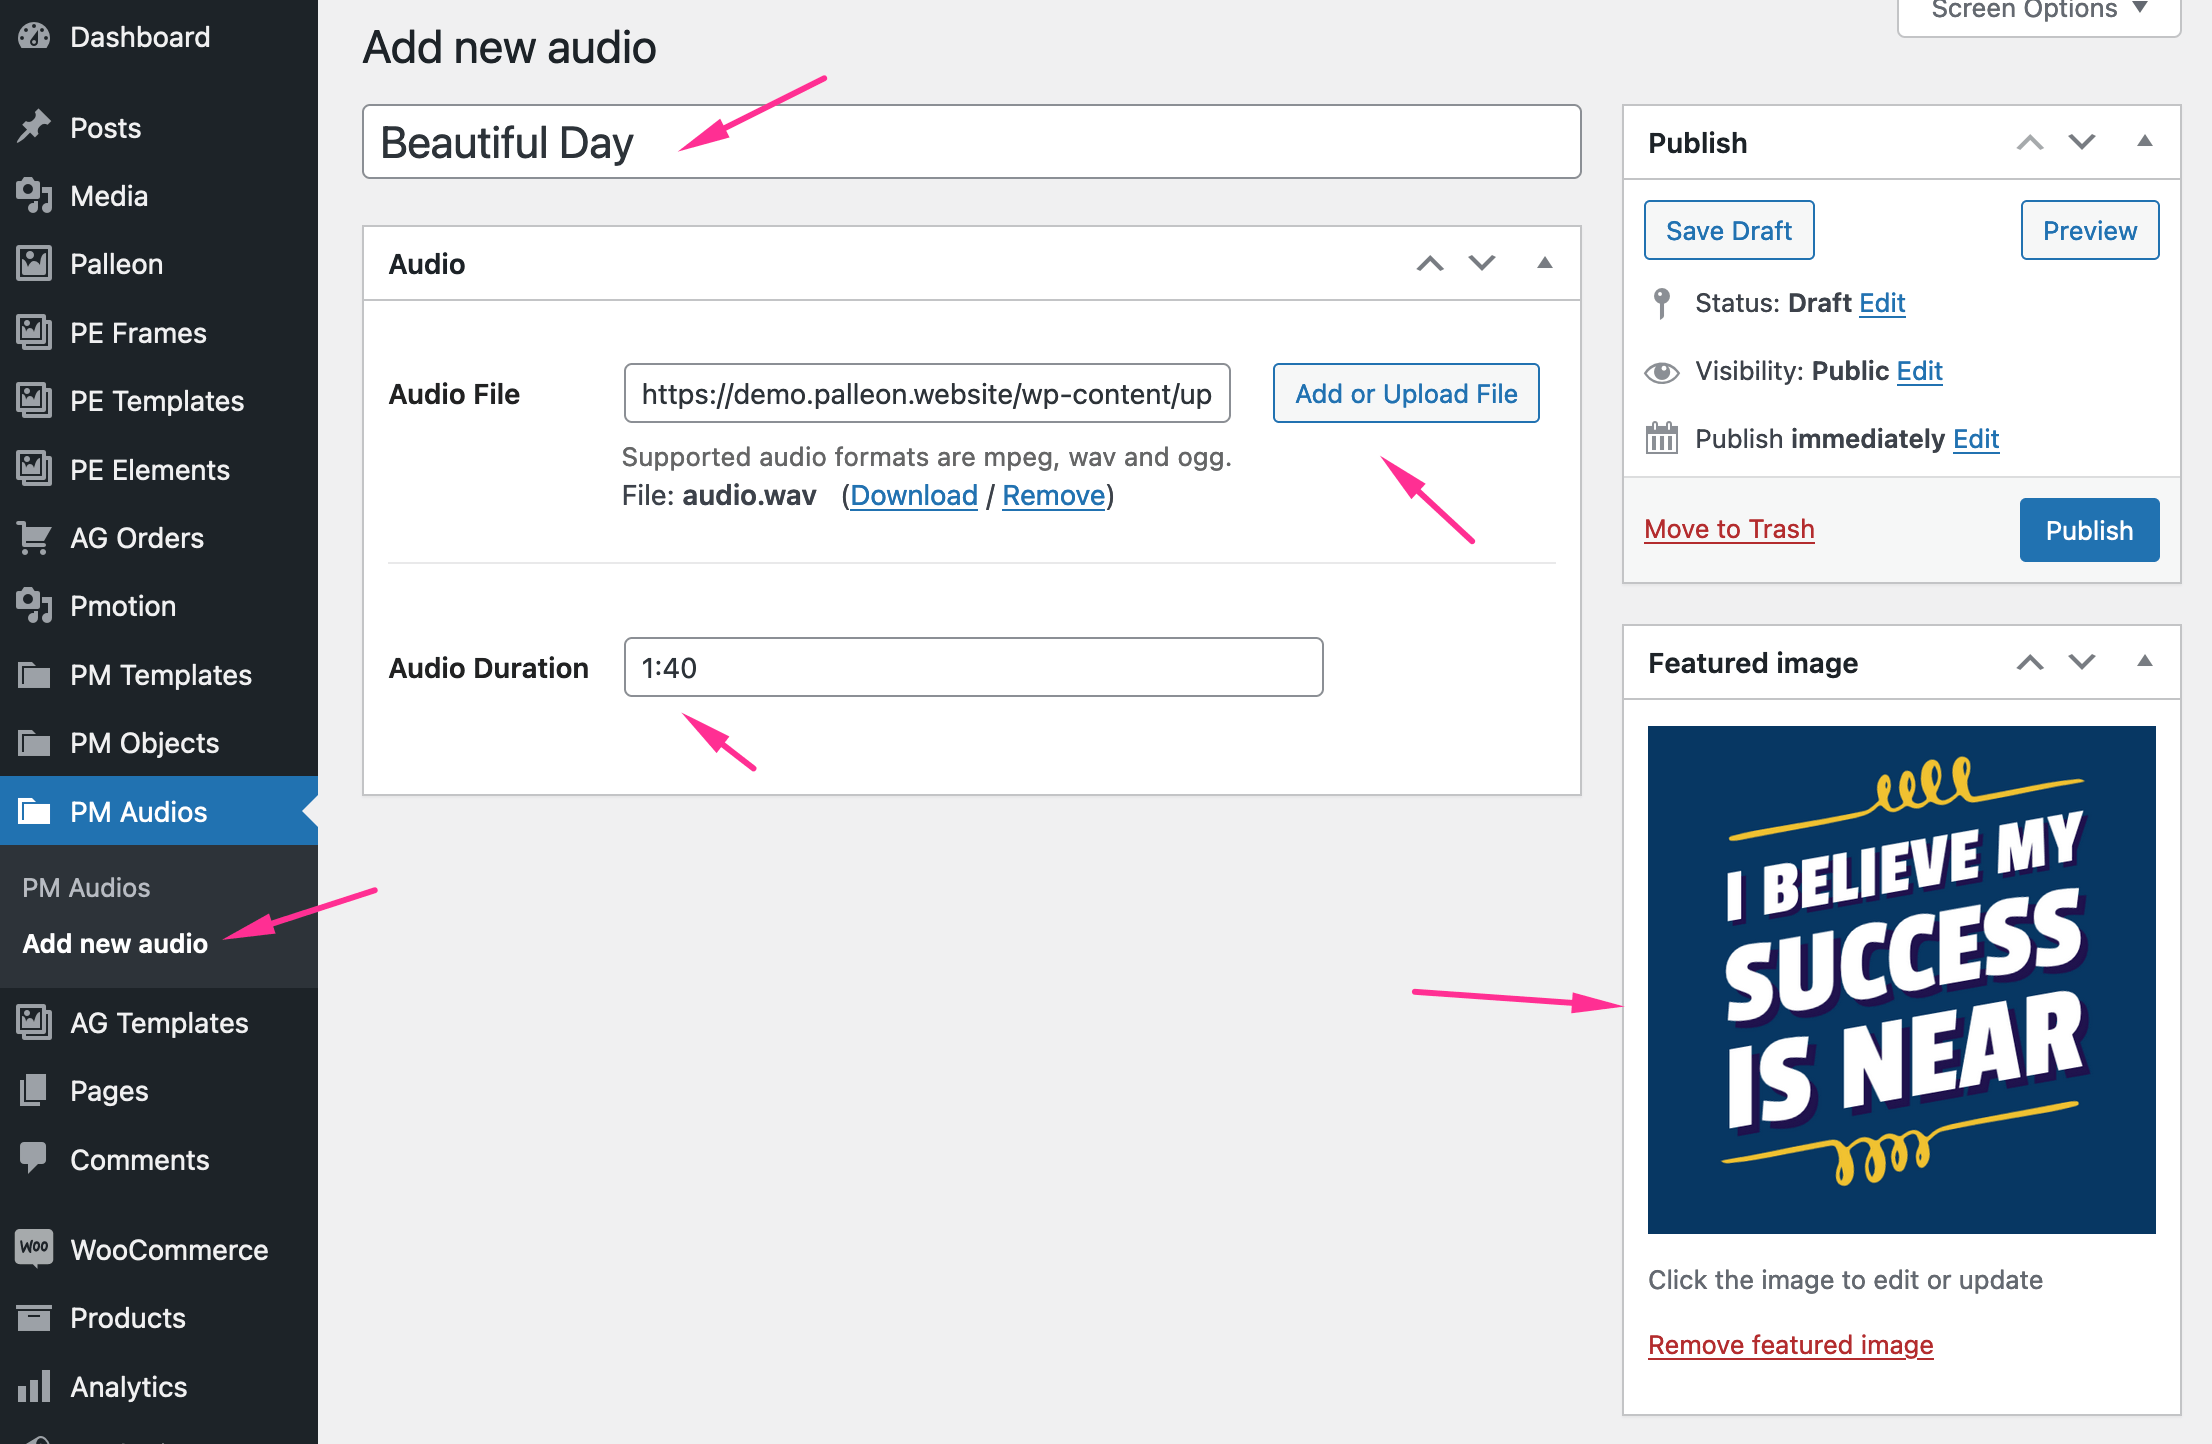
How To Add Your Own Audio Files To The Library?
1) Go to your WordPress dashboard.
2) Click Pmotion->PM Audios->Add new audio.
3) Upload your audio file to "Audio File" field.
4) Add duration of the audio.
5) Add the name of the song and click "publish".
QR Code
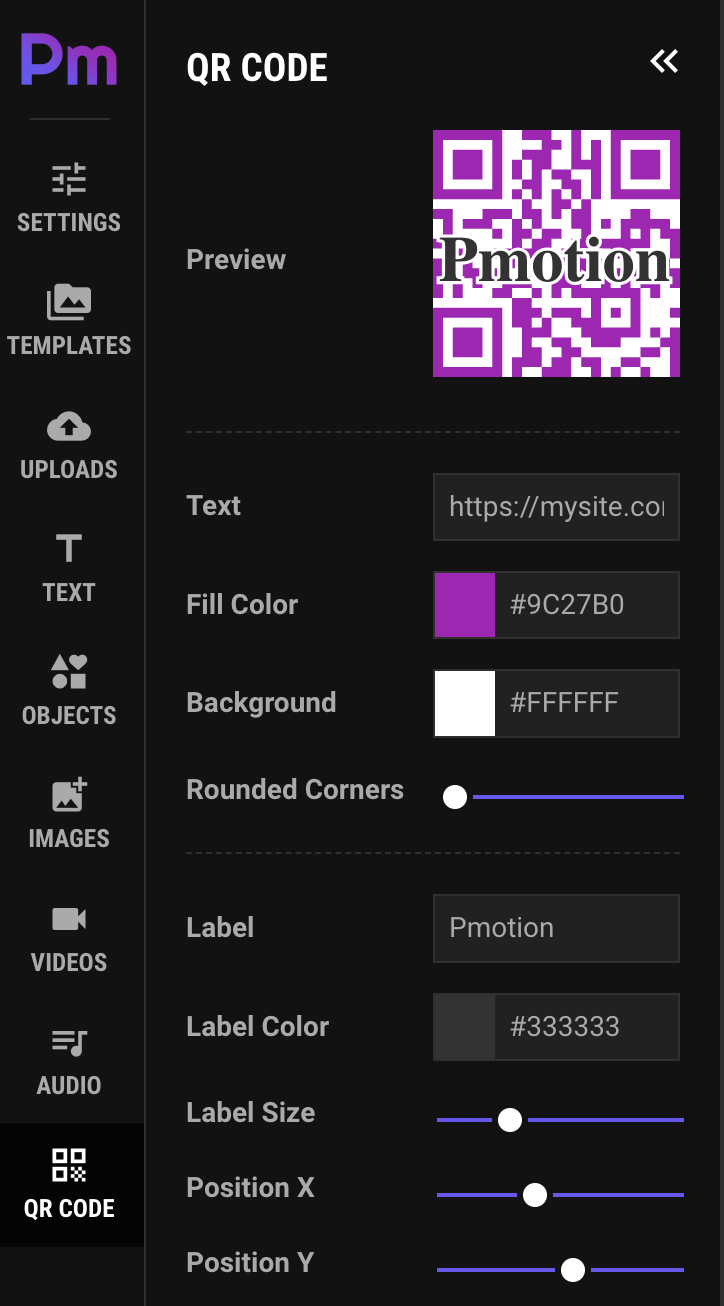
QR codes can store, Website URLs, Contact information, Text messages, Product information, Wi-Fi network credentials, Payment information, Digital tickets and much more!
Save/Download

When you’re happy with what you’ve created, you can click on the Download button on the bottom right to open the download panel. You can export in WebM video, animated GIF or as a static image for your current frame.
Pmotion is fully local, so no data is stored in the cloud. Because of this, if you’d like to share your project with someone else, or bring it over a different machine, you’ll have to save the file locally from "Templates -> My Templates". You can use the export button to do so, which will generate a JSON file for you to import later.
Integrations
Ultimate Membership Pro
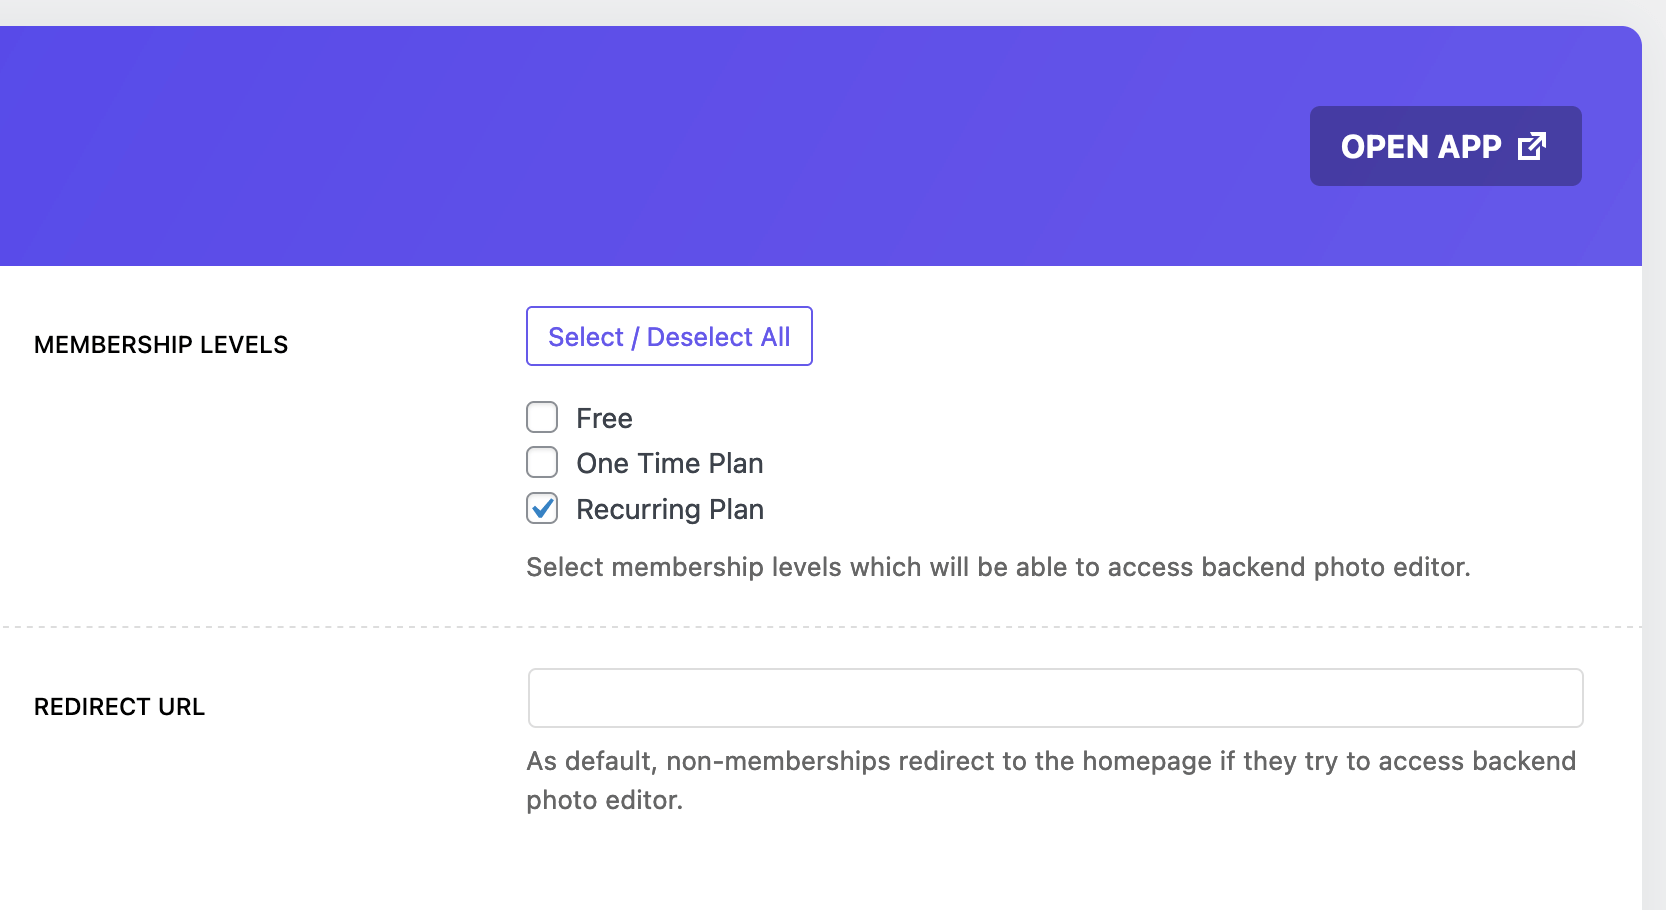
Palleon is compatible with Ultimate Membership Pro. If Ultimate Membership Pro plugin is installed and activated on your site, you can choose which membership levels will be able to access Pmotion from the settings. To allow all users, deselect all membership levels.
Ultimate Membership Pro Knowledgebase
Paid Memberships Pro
Palleon is compatible with Paid Memberships Pro. If Paid Memberships Pro plugin is installed and activated on your site, you can choose which membership levels will be able to access Pmotion from the settings. To allow all users, deselect all membership levels.
Paid Memberships Pro Documentation
Restrict Content Pro
Palleon is compatible with Restrict Content Pro. If Restrict Content Pro is installed and activated on your site, you can choose which membership levels will be able to access Pmotion from the settings. To allow all users, deselect all membership levels.
Restrict Content Pro Knowledgebase
Simple Membership
Palleon is compatible with Simple Membership. If Simple Membership plugin is installed and activated on your site, you can choose which membership levels will be able to access Pmotion from the settings. To allow all users, deselect all membership levels.
Need a Customization?
